Sounds like the title for an adventure novel doesn’t it?. Well In this case, it’s all about biscuit joiners.
I spent the morning at my local woodworking club and the topic for the day was using biscuits. I’d made a mistake reading the schedule somewhere along the line and so was disappointed by the lack of baked goods, but had fun anyway.
To demonstrate how to use a biscuit joiner one of the senior members made a breadboard, then another showed how to use them on angle joints. I’d not really had much exposure to either technique so found it quite interesting.
Later on the demonstrator pointed out that they needed to get me making some sawdust as they’d not yet seen much from me, so he handed me a pile of pre-cut lengths and showed me how to mark up and use the biscuit joiner.
I was really suprised by how easy it was and quite enjoyed the process. I got to bring the parts home with me to finish it off, so thought I’d share a few pics.
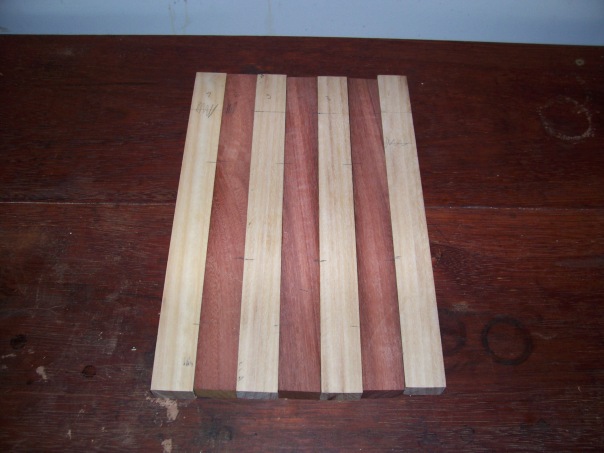
Here’s all the parts laid out in order – it’s easiest if you number them so you can match them up later. We staggered the biscuits for strength and to help prevent the wood curling.
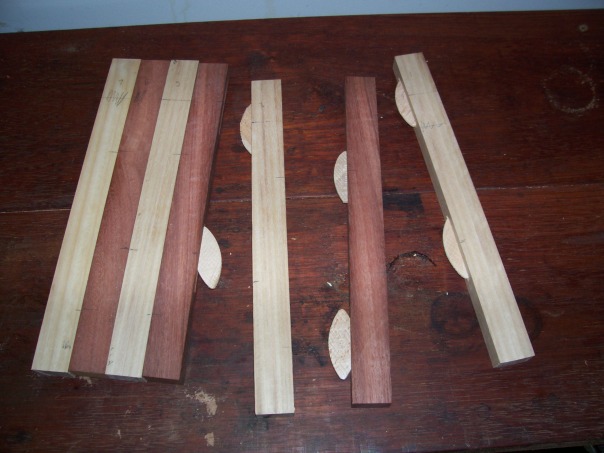
 Here they are showing the biscuits dry fitted to make sure everything lines up. The blackwood is slightly thicker than the pine so will need to be planed down later, but as we used a flat bench for reference when cutting the biscuit slots one side is dead flat already.
 For anyone who’s got no idea what I’m talking about, biscuits are those little oval bits of wood in the picture. You use a tool called a biscuit joiner, which is really just like a tiny sideways circular saw, and it cuts slots in the wood. You do this in the same spot in two bits of wood and glue a biscuit of wood into both bits and it makes quite a strong joint, much stronger than just gluing the two bits of wood together. See the slot and the biscuit below?
 I wasn’t sure if I just glued the biscuits or the face of the wood as well and got told it’s better to do both, so I’ve followed that advice and will see how it goes.
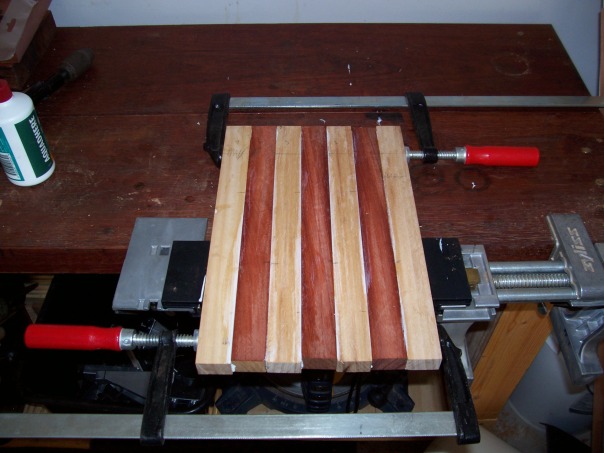
 and here it is all glued and clamped up. Normally you would put an end piece on to hide all the end grain and keep it flat, but as this is a test piece and I may have nothing the right thickness to match I’ll see how I go.
 In a happy coincidence, one of the club members and I were talking a few months ago about tools and he’d just been given a second biscuit joiner by a friend who couldn’t get it to do what he wanted so said to pass it on to someone who could use it. He remembered to bring it today so I came home with it and gave it a test run, works just fine so I think I’ll be using what I learnt today quite a bit more.